This Narita Airport arrival guide is for foreigners landing in Japan for the first time, especially travelers who need to reach Tokyo, a school, a temporary apartment, or a hotel after a long international flight. The short answer is simple: follow the official arrival flow, keep your documents accessible, decide your transport after you know your luggage situation, and do not leave the terminal without your next address and communication plan.
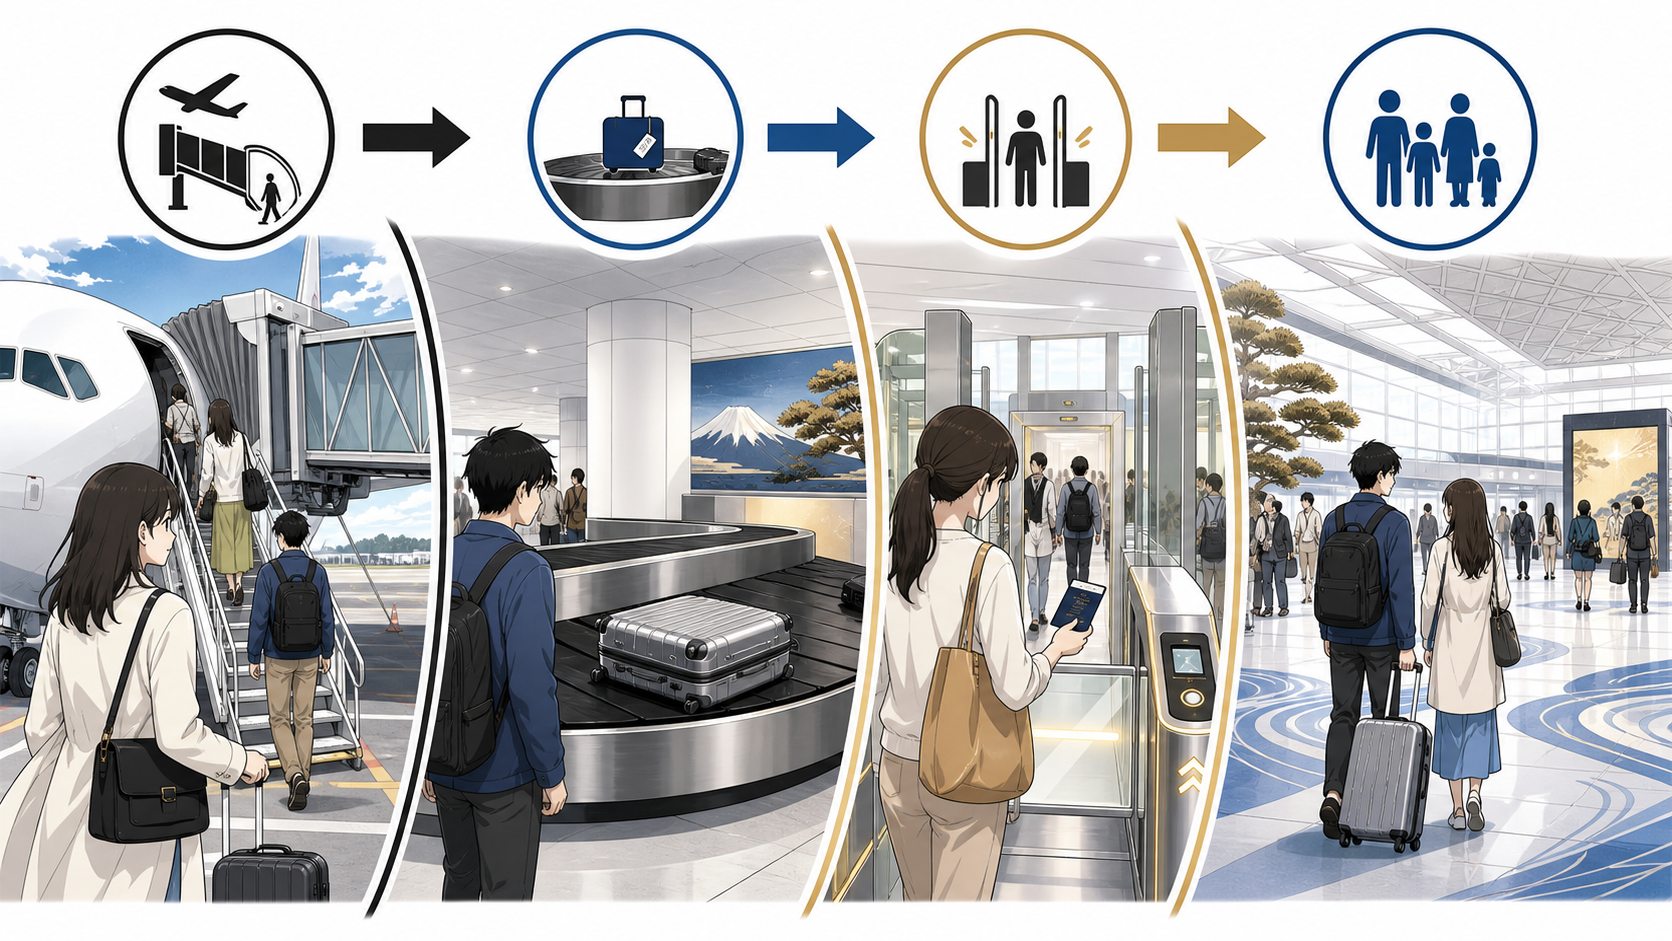
After landing at Narita, the usual path is quarantine, immigration, baggage claim, plant or animal quarantine if relevant, customs, the arrival lobby, and onward transport. Prepare your passport, Visit Japan Web QR code if using it, hotel or address details, and a plan for luggage before you reach the public area.
- Keep documents in your hand luggage: passport, visa or COE if relevant, address, and customs details.
- Use official signs first: terminal routes and counter locations can change.
- Choose transport by situation: luggage, arrival time, destination, and fatigue matter more than the cheapest route.
- Prepare a backup: late flights, long lines, or large bags can change the best plan.
Information checked: July 20, 2026. Airport procedures, rail schedules, bus routes, customs systems, and counter hours can change. Check the official websites linked below before you travel.
Narita Airport Arrival Guide: What Happens After Landing
Before you fly: documents and QR codes
Prepare the items you may need before you are tired and offline. The official Visit Japan Web service is provided by Japan's Digital Agency and can be used for arrival procedures such as immigration and customs. Japan Customs recommends using Visit Japan Web for electronic customs declaration, while paper customs declaration forms can still be used.

Save screenshots or offline copies of your hotel address, school address, temporary housing address, and contact details. If you are entering for study, work, or another longer stay, also keep visa, Certificate of Eligibility if issued, school or employer documents, and your first address accessible. Do not pack these in checked luggage.
- passport and entry documents;
- Visit Japan Web QR code or customs form details;
- hotel, school, or housing address in Japanese and English;
- phone battery, charger, and backup connection plan;
- luggage claim tags and delivery/tracking receipts if used.
Immigration and residence card checks
Narita Airport's official arrival guide says travelers present a passport at immigration. If you use a facial recognition gate or automated gate, you may not receive a passport stamp unless you ask staff. That stamp can matter for some later procedures, so ask at the airport if you specifically need one.
For foreign nationals residing in Japan for more than three months, the Study in Japan official site says a residence card is issued during immigration at airports including Narita. After you determine where you live, bring the residence card to the municipal office for your address registration within 14 days.
Baggage claim, quarantine, and customs
After immigration, check the flight number and airline name on the baggage display and pick up your suitcase. Narita's official guide reminds passengers to check the baggage claim ticket and use baggage carts when needed. If you are carrying plants, fruit, seeds, vegetables, meat products, or other items subject to plant or animal quarantine, follow the relevant inspection route.
All passengers entering Japan must submit a Declaration of Accompanied Articles and Unaccompanied Articles. Japan Customs says electronic declaration can be completed through Visit Japan Web and e-Gates are available at Narita, but passengers may still be inspected. If you shipped unaccompanied articles separately, Customs says two copies of the declaration are required and the declaration must be made when entering Japan.
Choosing Narita Express, Skyliner, bus, or airport pickup
Narita's official access page organizes onward transport by rail, public bus, car, taxi, and terminal transfer. The best option depends on your first destination and luggage. JR East's Narita Express connects Narita with major areas such as Tokyo, Shinagawa, Shibuya, Shinjuku, and Yokohama and provides luggage storage areas. Keisei's Skyliner is a reserved-seat service between Narita and Ueno/Nippori with luggage space.
A bus can be easier when it stops close to your hotel, while a private ride is often simpler for families, groups, late arrivals, several large suitcases, or a housing address that is far from a station. If you are comparing door-to-door support, read the HarukaBase Airport Pickup page.
Arriving with children, a stroller, and several bags? Use the Tokyo airport transfer with kids guide to compare trains, buses, taxis, reserved vehicles, child-seat requests, and the last step to your address.
| Option | Best when | Watch for |
|---|---|---|
| Narita Express | Your destination is near a JR stop such as Tokyo, Shibuya, Shinjuku, Shinagawa, or Yokohama. | Seat reservations, ticket pickup, final station transfer, and luggage space availability. |
| Keisei Skyliner | You are going toward Nippori, Ueno, or a route that connects well from those stations. | Transfer route after Nippori/Ueno and walking distance with bags. |
| Airport bus | A bus stop is close to your hotel or area. | Road traffic, last bus timing, and final walk. |
| Luggage delivery | You arrive early enough and a staffed hotel can receive your suitcase. | Cutoff times, address eligibility, and overnight essentials. |
| Private airport ride | You need door-to-door movement with several bags, children, late arrival, or low stress. | Vehicle capacity, road traffic, and exact destination details. |
Late-night and large-luggage decisions
A route that looks easy at noon can be difficult after a delayed evening landing. Rail and bus schedules thin out, counters may close, and large bags make transfers harder. If your arrival is late, check the late-night arrival guide for Narita and Haneda before assuming the train is still the best option.
If you want to send suitcases ahead, use the separate airport luggage delivery guide. Luggage delivery can be convenient, but same-day service depends on the counter, cutoff, destination, and accommodation acceptance. Keep medicine, documents, valuables, chargers, and one-night essentials with you.

Narita Airport Arrival Guide: First-Day Plan for Foreigners
Step-by-step path from gate to lobby
After leaving the aircraft, follow signs for international arrivals. Use the airport's terminal signs and staff guidance if your route differs from what you saw online. The official Narita sequence is arrival, quarantine, immigration, baggage claim, plant or animal quarantine when relevant, customs inspection, arrival lobby, then transportation.
- Follow international-arrival signs from the gate.
- Complete quarantine and health-related steps if instructed.
- Show your passport and required entry documents at immigration.
- Pick up checked luggage and confirm the bag tag.
- Complete customs declaration and inspection.
- Enter the arrival lobby and choose your onward route.
What to do before leaving the terminal
The arrivals lobby is the best place to pause and regroup. Before walking to a train, bus, taxi, or pickup point, confirm your phone connection, battery, destination, luggage plan, and payment method. If you need airport phrases, the Airport Arrival Japanese Phrase Trainer can help with simple questions.
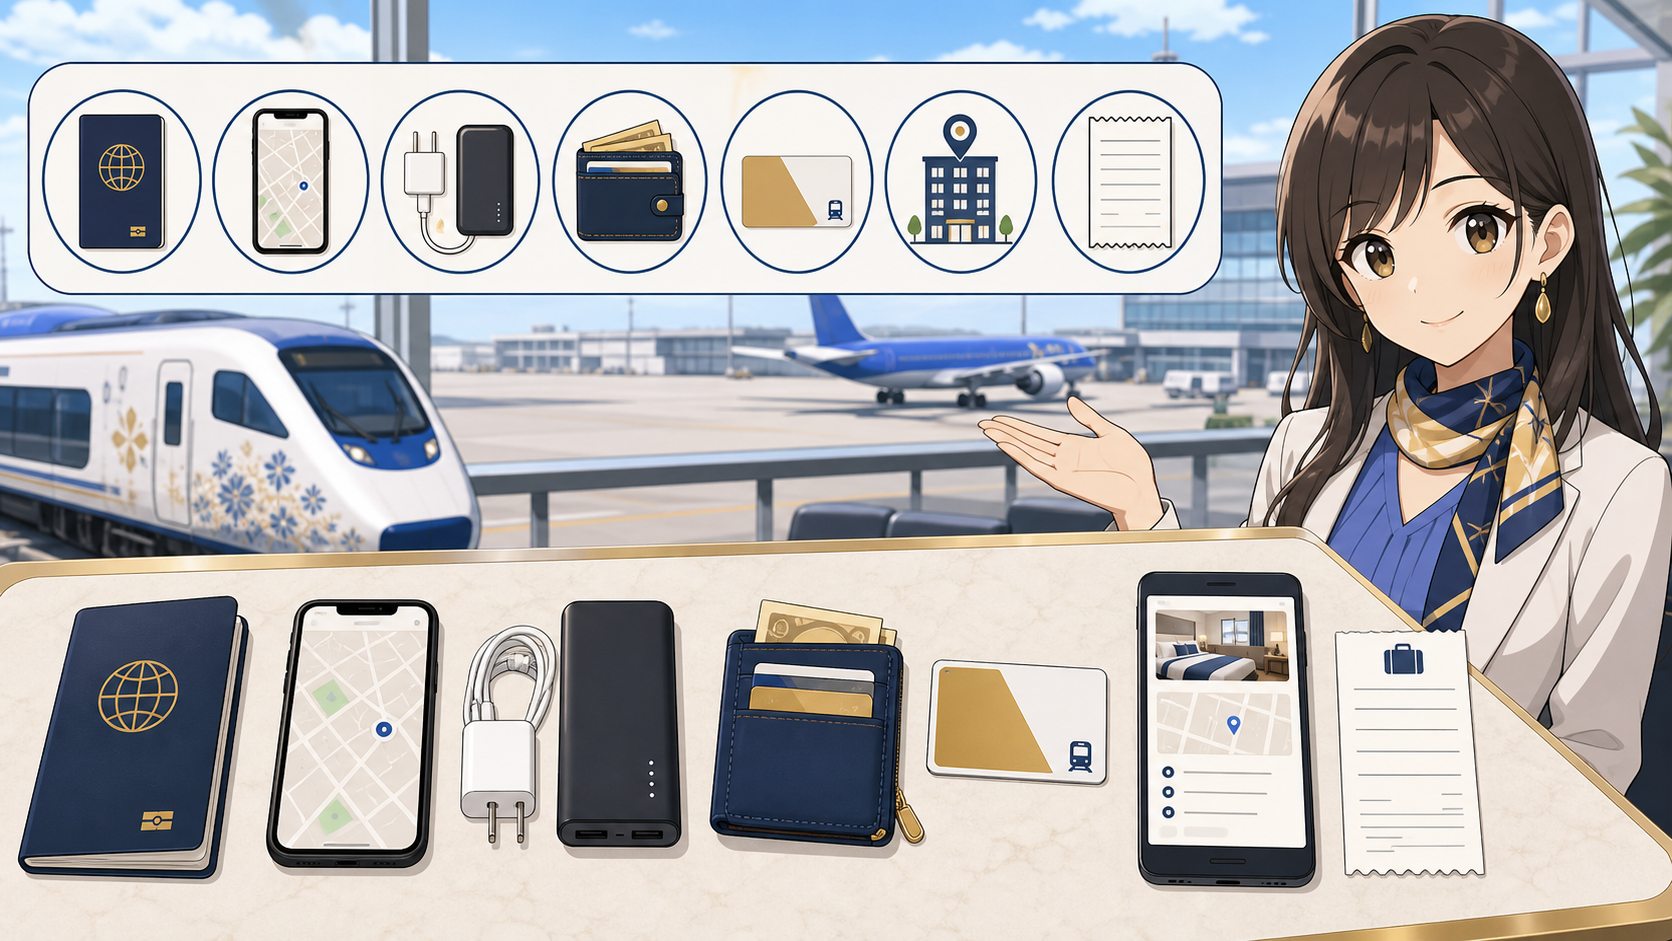
- phone has data, eSIM, Wi-Fi, or a clear backup;
- destination address is displayed in a map app and saved offline;
- transport ticket, cash, card, or IC setup is ready;
- luggage, delivery receipt, and valuables are accounted for;
- hotel, school, housing provider, or driver can reach you if needed.
If you still need internet or IC-card setup, use the SIM, eSIM, pocket Wi-Fi, and IC card guide.
Common mistakes after landing at Narita
- Packing documents in checked luggage: keep passport, QR codes, addresses, and entry papers with you.
- Leaving without a working address: save the Japanese address and phone number before transport.
- Choosing the fastest train without checking transfer stairs: luggage changes how practical the route is.
- Ignoring the last-train/last-bus window: late landings need a backup.
- Sending luggage without overnight items: same-day delivery is conditional.
- Missing residence-card next steps: longer-stay residents need address registration after deciding where they live.
Frequently asked questions
Do I need Visit Japan Web at Narita?
Visit Japan Web is the official online service for arrival procedures such as immigration and customs. Japan Customs recommends it for electronic customs declaration, but paper customs declaration forms can still be used.
Will I get a residence card at Narita?
Foreign nationals residing in Japan for more than three months are issued a residence card during immigration at Narita, according to the Study in Japan official site. After deciding where to live, register your address at the municipal office within 14 days.
Which train is better from Narita, N'EX or Skyliner?
It depends on your destination. N'EX is a good choice for JR destinations such as Tokyo, Shibuya, Shinjuku, Shinagawa, and Yokohama. The Skyliner is a good choice for connections through Nippori and Ueno. Check the final station-to-door route, not only airport-to-station time.
Can I send luggage from Narita to my hotel?
Usually yes when the counter, cutoff, destination, and hotel acceptance work. Same-day delivery is limited. Read the airport luggage delivery guide before relying on it for your first night.
Can HarukaBase meet me inside immigration or customs?
No. Immigration, baggage claim, and customs are restricted areas. HarukaBase support begins in the public arrivals area, subject to the confirmed airport pickup or arrival arrangement.
If you are arriving with large luggage, children, a late flight, or a housing address that is hard to reach by train, send your flight, terminal, destination, passenger count, and luggage details. HarukaBase can explain the practical options in English and confirm what support is available without changing official airport procedures.
Narita Airport arrival guide summary
This Narita Airport arrival guide comes down to four practical choices: prepare documents before the flight, follow the official airport sequence, choose onward transport based on luggage and time, and keep a backup for late arrivals or address problems. Narita is organized, but the first hour can feel difficult when you are tired, offline, or carrying too much.
For the broader first week, continue with what to do after arriving in Japan. If your trip includes a Tokyo airport connection, use the Narita-to-Haneda transfer guide. For door-to-door arrival help, start from the HarukaBase free inquiry form.
Official sources checked July 20, 2026: Narita Airport international arrival procedure, Visit Japan Web, Japan Customs declaration, Study in Japan residence-card guidance, JR East Narita Express, and Keisei Skyliner. Narita's official access page and Customs e-Gate page were also checked during research.